Get This Look
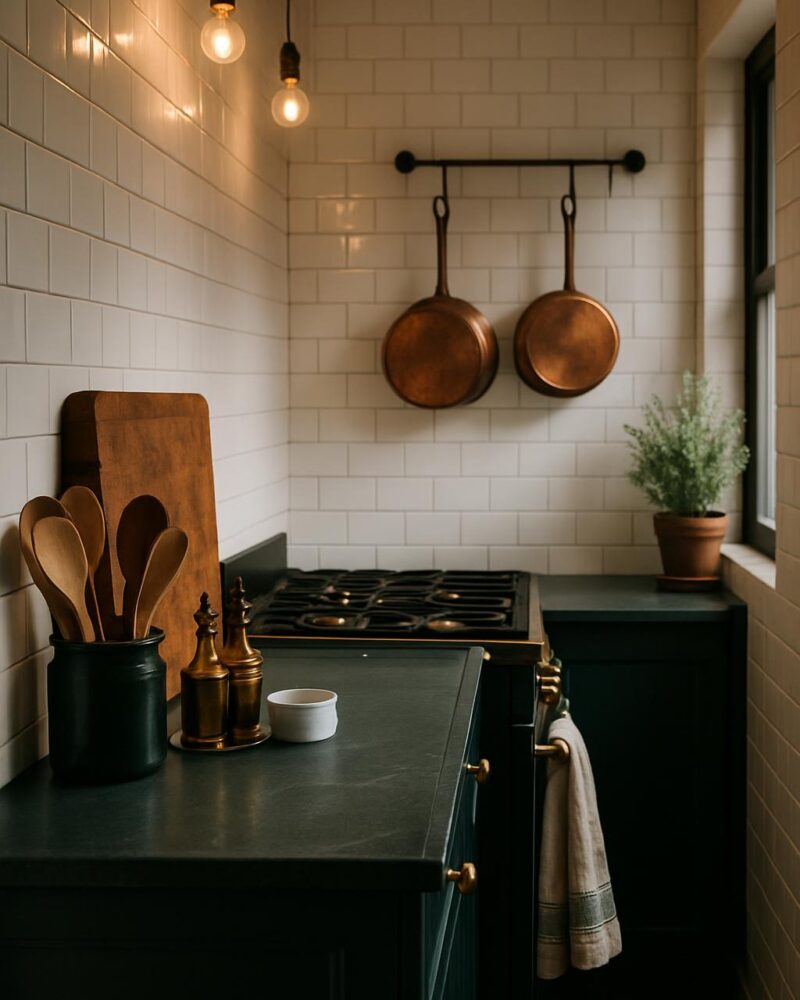
A fresh backsplash can completely change the feel of a kitchen or bathroom — and with today’s peel and stick tile options, you don’t need a contractor, grout, or a weekend of regret. This look uses durable, waterproof peel and stick tiles that mimic the texture and color of real stone or subway tile, making the upgrade look intentional and high-end without the commitment.
How to Recreate It
- Measure your backsplash area and calculate how many tile sheets you’ll need, adding 10% for cuts and waste.
- Clean the wall surface thoroughly with isopropyl alcohol and let it dry completely — this is the most important step for adhesion.
- Mark a level horizontal guideline with painter’s tape so your first row is perfectly straight.
- Peel the backing and press each tile firmly into place, smoothing from the center outward to eliminate air bubbles.
- Use a utility knife and straight edge to cut tiles around outlets, edges, and corners.
- Apply a thin bead of clear waterproof caulk along the top edge and around outlets for a finished, durable seal.
- Step back and admire — no grout haze, no mess, no waiting 24 hours to use your sink.
Styling Tips
- Choose a tile pattern that complements your cabinet color — white subway for dark cabinets, warm stone for white or cream kitchens.
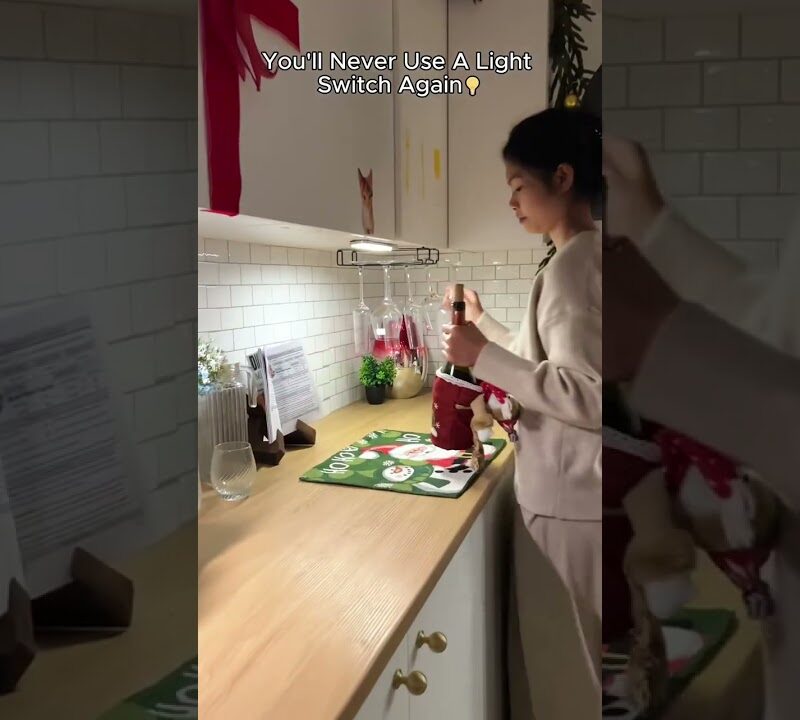
- Extend the backsplash all the way to the upper cabinets for a built-in, custom look rather than stopping at a random height.
- Add open shelving or a small herb planter in front of the backsplash to layer the space and draw the eye to the new tile.
- Warm under-cabinet LED strip lights will highlight the texture of the tile and make the whole wall feel more dimensional.
Budget Swaps
- Opt for a classic white or gray subway tile peel and stick sheet instead of a premium stone-look for a fraction of the price.
- Buy a single pack to test adhesion and look on a small section before committing to the full wall.
- Skip the matching grout pen — most peel and stick tiles have realistic built-in grout lines that look great on their own.
- Use leftover tiles on the inside of a pantry door or on a small bathroom accent wall for a high-impact second project at no extra cost.