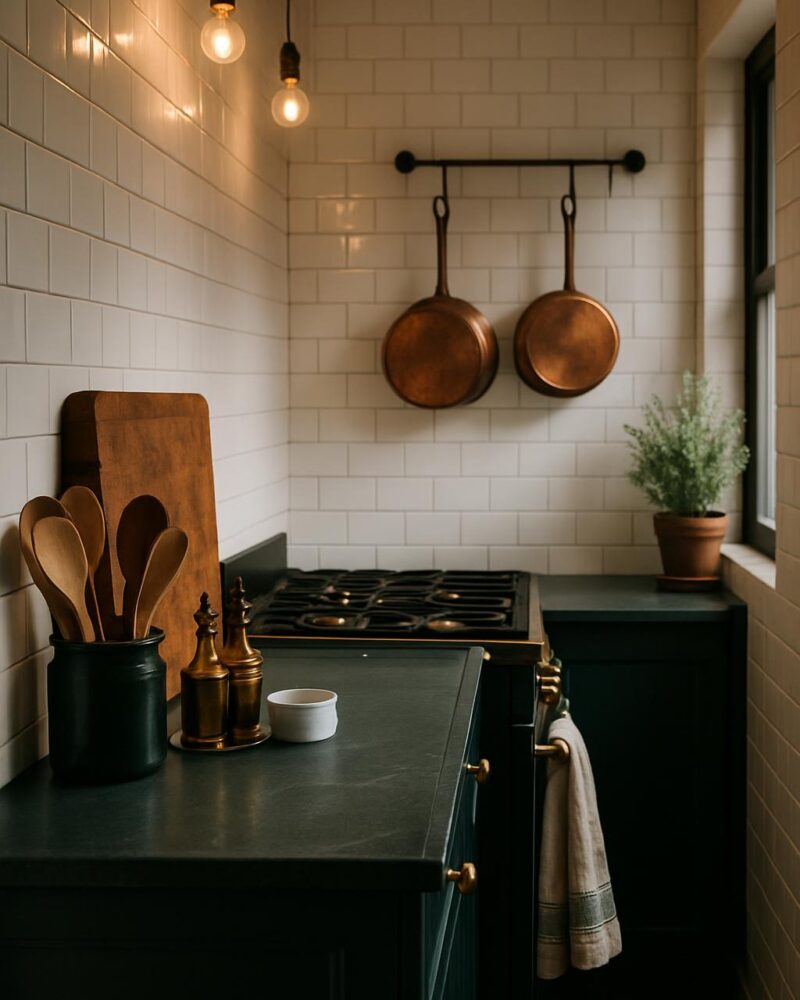
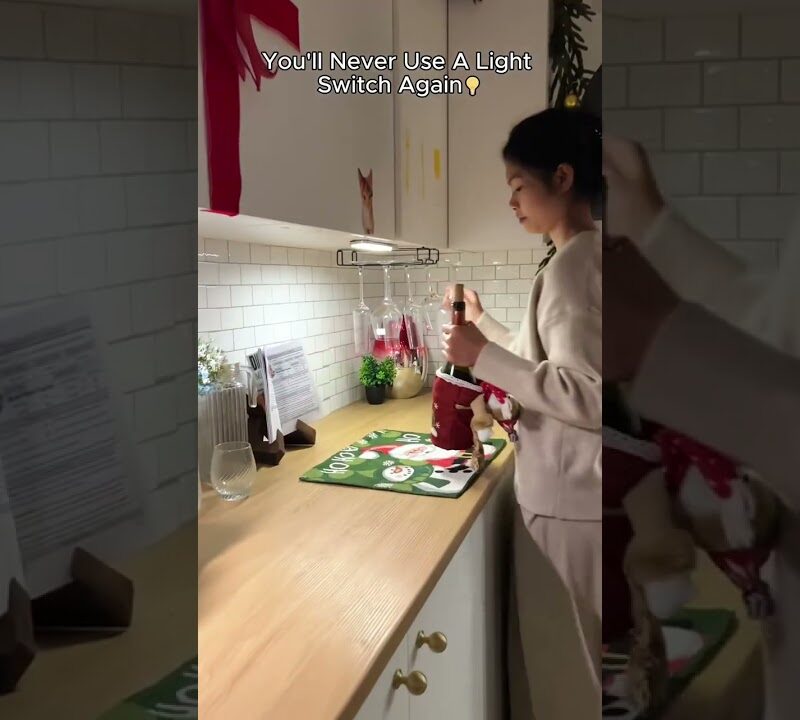
Get This Look
A peel and stick backsplash is one of the easiest ways to completely change the feel of a kitchen or bathroom without a single tile saw or tube of grout. This renter-friendly upgrade goes up in hours and looks surprisingly high-end when you choose the right pattern and finish.
How to Recreate It
- Measure your backsplash area carefully and order about 10% extra to account for cuts and mistakes.
- Clean the wall surface thoroughly with a degreaser and let it dry completely — adhesion depends on it.
- Use a level and painter’s tape to mark a straight horizontal starting line before peeling anything.
- Peel back a few inches of the backing, align the tile to your guide line, and press firmly from the center outward to avoid bubbles.
- Use a credit card or squeegee tool to smooth each tile as you go, working row by row.
- Trim edges around outlets, cabinets, and countertops with a sharp utility knife and a metal straightedge.
- Press all seams firmly and run your hand over the full surface one final time to ensure a secure bond.
Styling Tips
- Choose a white or light gray subway or marble pattern to maximize the illusion of real tile.
- Offset the seams like real tile — staggering the rows makes the peel and stick look far more authentic.
- Pair the backsplash with open shelving and matching hardware to tie the whole kitchen together.
- A dark grout-line pattern reads more realistic than a white grout-line version from a distance.
- Finish the edges with a thin bead of paintable caulk for a polished, built-in appearance.
Budget Swaps
- Skip the pricier name-brand tiles and look for highly rated white-label options on Amazon — the adhesive quality is often identical.
- Use a self-adhesive mosaic sheet for a smaller accent wall rather than covering the full backsplash area to stretch your budget.
- A single bold pattern strip above the stove as a focal point costs a fraction of tiling the whole kitchen.
- Coordinate with peel and stick countertop film for a full kitchen refresh under $100 total.