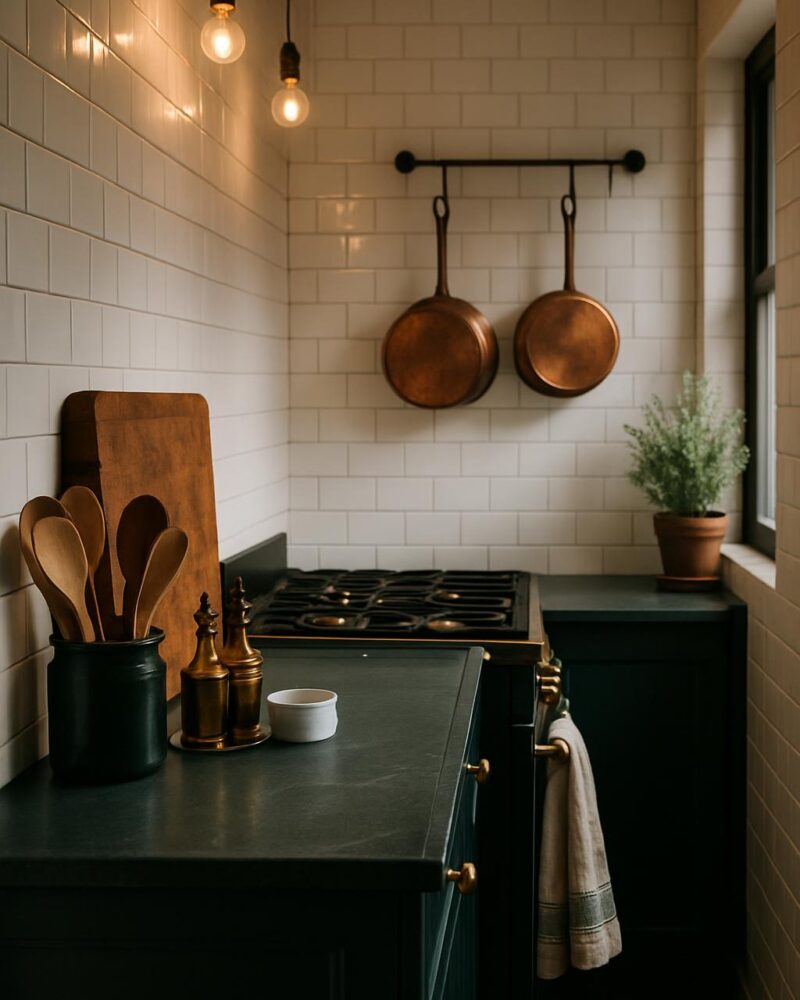
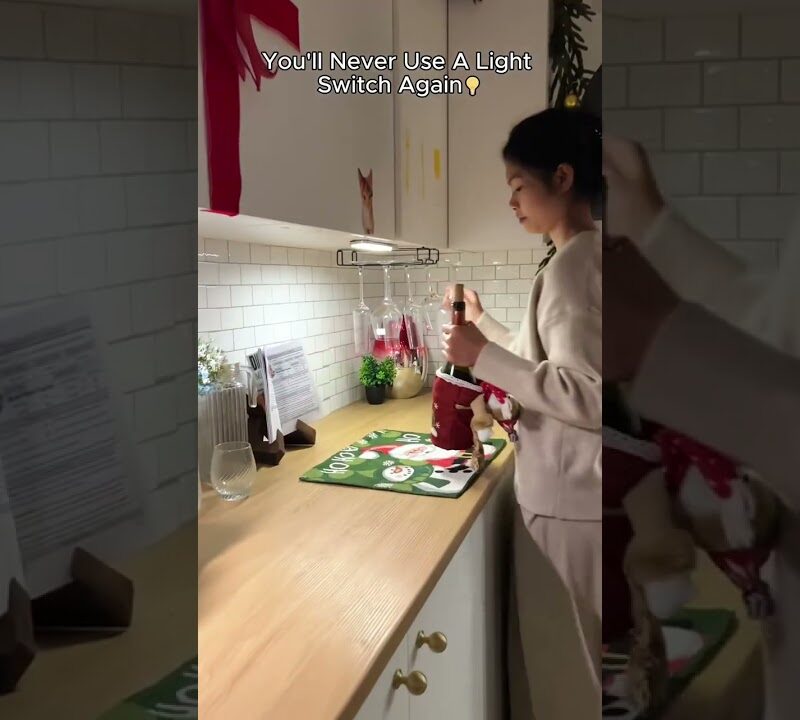
Get This Look
A fresh backsplash can completely change the feel of a kitchen, and this peel-and-stick subway tile version proves you do not need a contractor or a weekend of chaos to make it happen. Clean lines, a classic pattern, and zero permanent commitment make this one of the smartest kitchen upgrades you can do on a budget.
How to Recreate It
- Measure your backsplash area and calculate how many peel-and-stick tile panels you need, adding 10% for trimming and mistakes.
- Clean the wall surface thoroughly with a degreaser and let it dry completely — adhesion depends on a grease-free surface.
- Use a level and painter’s tape to mark a straight horizontal starting line above your countertop.
- Peel the backing from the first tile panel and press firmly from the center outward to avoid air bubbles.
- Continue working row by row, aligning grout lines carefully between panels for a seamless look.
- Use scissors or a utility knife to trim panels around outlets, corners, and cabinet edges.
- Run a credit card or squeegee along each panel after placement to press out any remaining bubbles.
- Style the counter below with coordinating kitchen accents to complete the look.
Styling Tips
- Choose a white or light gray subway tile peel-and-stick panel to make a small kitchen feel larger and brighter.
- Keep countertop decor minimal — a single cutting board, a ceramic utensil holder, and a small plant go a long way.
- Add under-cabinet LED strip lights to highlight the new backsplash and add warmth to the space.
- Matching the grout line color of the panels to your existing grout elsewhere in the kitchen creates a more cohesive look.
Budget Swaps
- Instead of premium peel-and-stick panels, look for affordable peel-and-stick mosaic tile sheets that still deliver a high-end look for a lower per-square-foot cost.
- Skip the specialty squeegee tool and use an old credit card wrapped in a soft cloth to smooth panels.
- A simple wood bead board panel cut to size can mimic a shiplap backsplash for even less than tile options.
- Repurpose items you already own for counter styling rather than buying all new accessories at once.