Get This Look
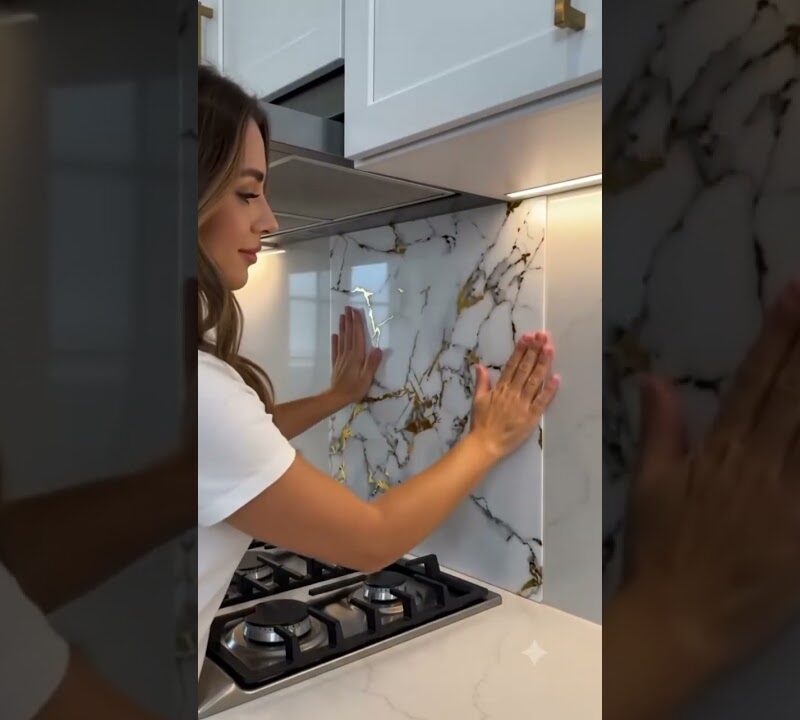
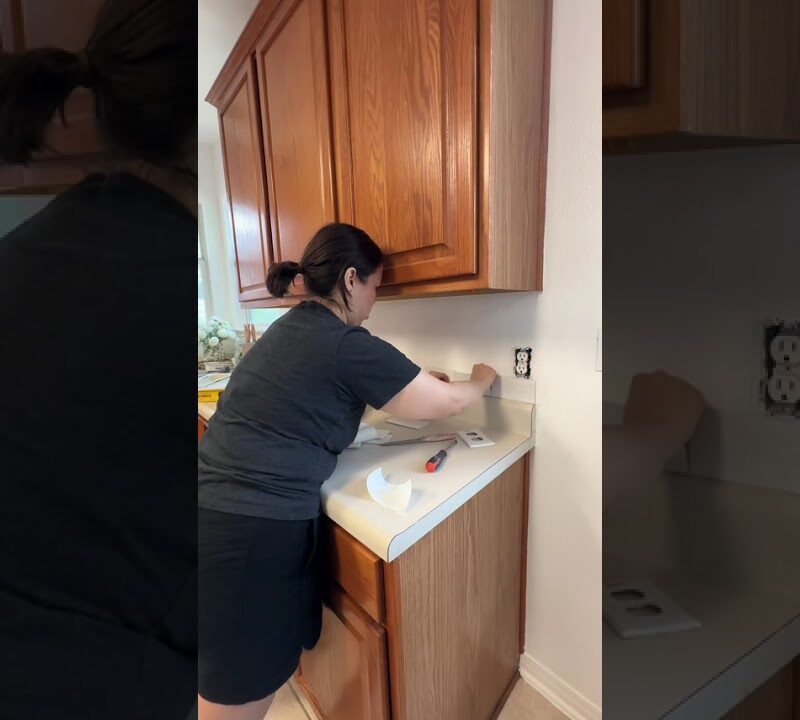
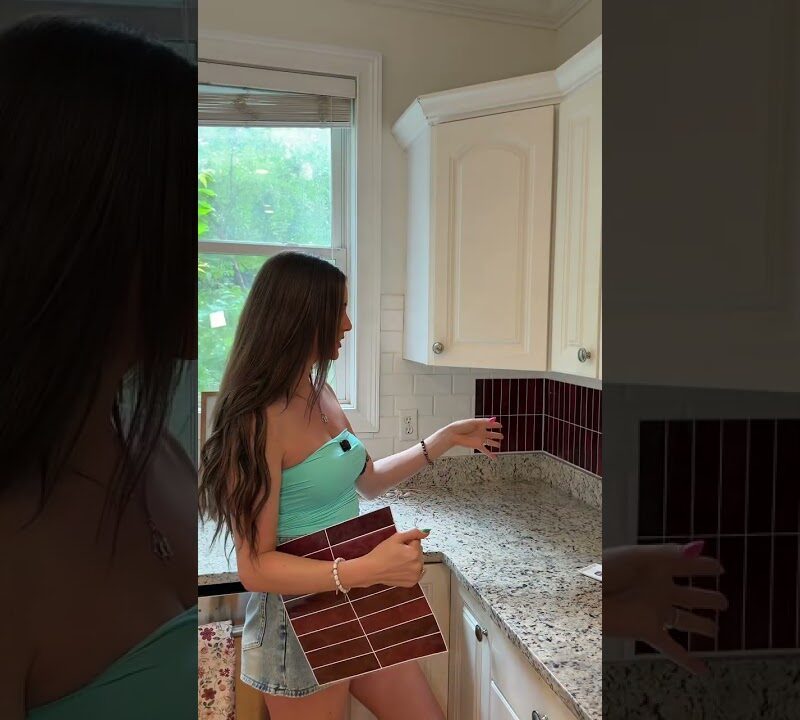
Self-adhesive wall panels are one of the easiest ways to add instant texture, depth, and a high-end feel to any room — no nails, no contractor, and no commitment. Whether you’re a renter or just want a weekend project with big visual payoff, this look delivers.
How to Recreate It
- Measure your wall and calculate how many panels you need, adding 10% for cuts and adjustments.
- Clean the wall thoroughly with a mild degreaser and let it dry completely — adhesion depends on it.
- Start in the center of the wall or at a natural focal point (like behind a bed or sofa) and work outward.
- Peel the backing and press each panel firmly into place, holding for 30 seconds to activate the adhesive.
- Use a level to keep rows straight, and a utility knife or scissors to trim edge panels to fit.
- Step back and check alignment every few rows before continuing.
Styling Tips
- Paint the panels after installation for a seamless, custom look — matte white or a moody dark tone both work beautifully.
- Use as a single accent wall rather than covering all four walls to avoid visual overwhelm.
- Add a floating shelf or sconce light directly on the panel wall to layer the texture with functional decor.
- Pair with minimal, streamlined furniture so the wall remains the star of the room.
Budget Swaps
- Choose foam-based panels over PVC if you want a lighter-weight, lower-cost option — they still look great painted.
- Cover just the lower half of the wall (wainscoting style) to cut your panel count in half.
- Skip the accent light and use a large mirror on the panel wall instead — equally dramatic at a fraction of the cost.