Get This Look
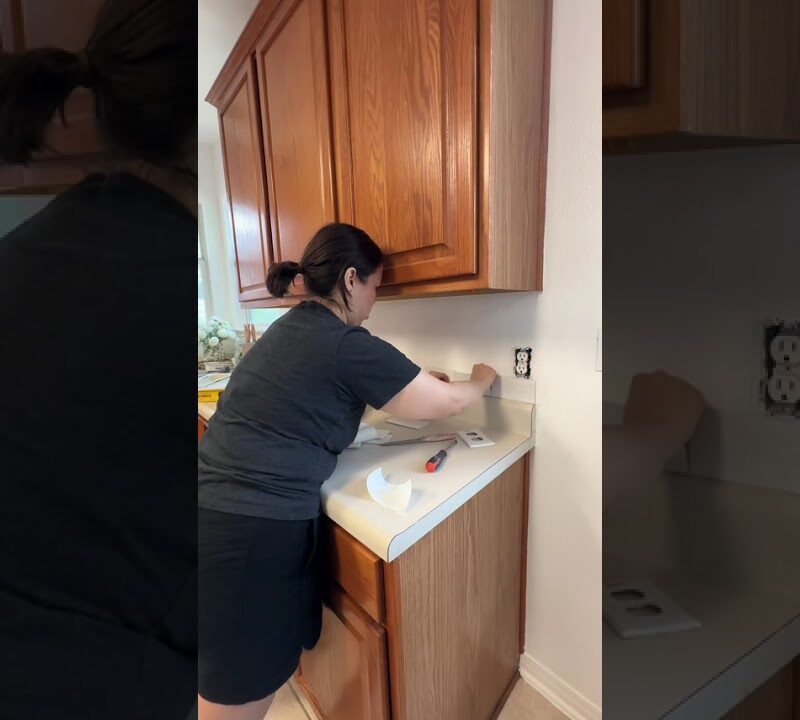
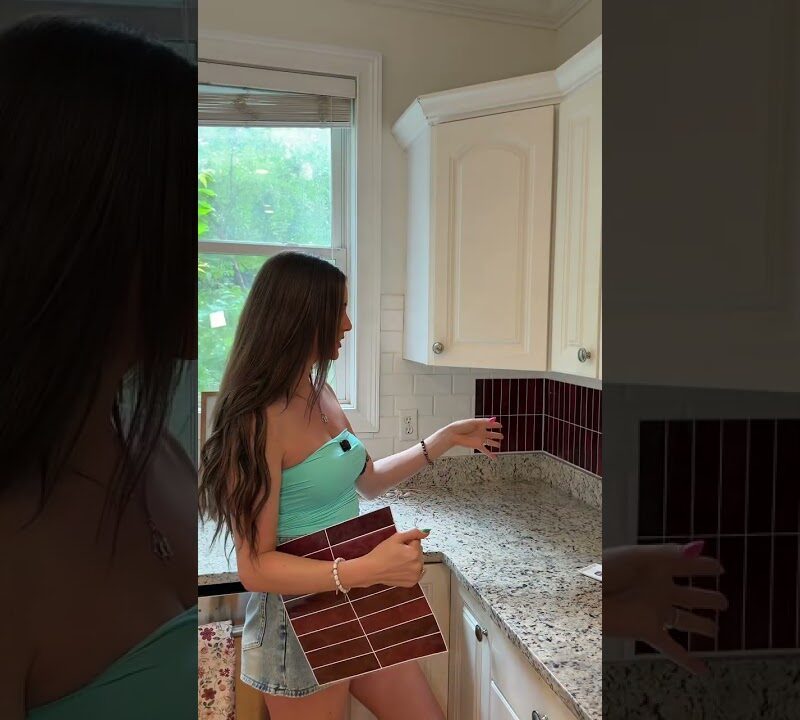
You do not need a contractor or a weekend of chaos to get a marble tile upgrade. Waterproof peel-and-stick marble tiles let you fake a high-end renovation in a single afternoon, and they work beautifully on bathroom walls, shower surrounds, kitchen backsplashes, and even laundry room accents.
How to Recreate It
- Clean your wall surface thoroughly with rubbing alcohol and let it dry completely — adhesion depends on a grease-free, dust-free surface.
- Measure your wall and lightly mark horizontal and vertical center lines with a pencil so your tiles stay straight.
- Peel the backing off the first tile and press firmly from the center outward, smoothing out any air bubbles with a credit card or squeegee tool.
- Continue row by row, staggering the joints in a brick pattern for a more realistic marble look.
- Use a utility knife and a metal straight edge to trim tiles along edges, corners, and around fixtures.
- Run a bead of clear waterproof caulk along any seams that meet a wet area like a tub ledge or sink backsplash for extra moisture protection.
Styling Tips
- Choose tiles with warm grey or beige veining to complement brushed gold or matte black hardware — it photographs beautifully and feels elevated.
- Pair the marble tile wall with a matching white or marble-contact-paper countertop for a cohesive, pulled-together look on a serious budget.
- Add a bamboo or wood soap dish, a glass soap dispenser, and a matching toothbrush holder to style the surface in front of the new tile.
- A large round mirror with a thin black or gold frame amplifies the marble effect and makes a small bathroom feel much bigger.
- Swap out your light fixture or add an LED vanity light bar above the mirror to make the tile shimmer and look even more realistic.
Budget Swaps
- Instead of real ceramic tile, peel-and-stick marble tiles run $20–$60 for a full accent wall versus $300+ for professional tilework.
- Skip the frameless mirror and use a basic IKEA mirror with a spray-painted gold frame for a designer-look alternative under $30.
- Use contact paper in a marble print on your vanity top instead of buying a new countertop — virtually the same effect for under $15.
- A $10 three-piece bathroom accessory set (dispenser, tray, toothbrush holder) in matte black ties the whole look together without breaking the budget.